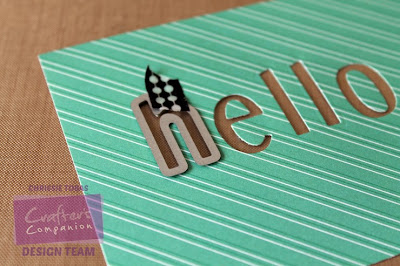
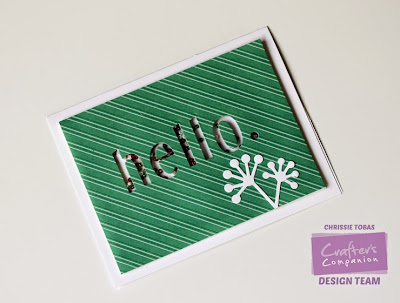
Crafter's Companion recently released some new dies and I could not wait to make a shaker card with them! Let's get started!!
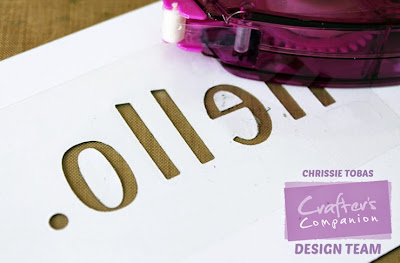
These dies are called Die'Sire 1 Inch Contemporary Dies. There is something so fun about using only lowercase letters! I also added the period from the Numbers die set. I suggest holding your dies in place when you run it through your die cutting machine with washi tape or another form of repositionable tape (the panel is 5.25 x 4). That way, they don't move at all and ruin your project!
After you have your sentiment die cut, flip over the panel and use your tape runner to add some heat resistant acetate to it. This will be your shaker window. Make sure you use strong adhesive, like the extra strong permanent tape runner.
Next, grab some foam and cut it so it will fit to your panel. Make it smaller by about 1/4 all around or 1/8 on each side (approximately 5 x 3.75). Then cut the window. This will be hidden, but to keep it simple, I used the Die'Sire rectangles die.
Now it's time to add glue. I recommend a strong, fast drying glue like Collall Tacky Glue. This glue is truly one of my go-to items. I use it for every single shaker card I make. Rub the glue around with your finger or a q-tip (if you don't want to get messy).
Adhere it to the back of your panel, on top of the acetate. See how it will be hidden? But you still have enough foam to basically use as foam adhesive, so your whole card will lay flat and not buckle anywhere!
To add a little interest to the front, I die cut this stunning flower from Die'Sire's Wildflower Trio set in white cardstock. I added it using a Xyron sticker maker and trimmed off the excess.
Now comes the fun part! Add the glue to the edges again and dump in your shaker elements! You can add sequins, die cuts, beads, glitter - anything that floats your creative boat!
Then place a blank panel cut to the same size (5.25 x 4) over the panel and press down. I suggest letting it dry (preferably under something heavy) for at least 30 minutes before shaking it a lot. You don't want any beads to stick to the edges.
Once everything is dry, adhere to the card base.
Pretty simple, right? We would love to see what shaker cards you create! Add your link in the comments section or add them to our Facebook page!
Thanks for stopping by!
All supplies available on the Crafter's Companion Website unless otherwise noted.
Patterned Paper: Lawn Fawn
Beads: Blue Moon
Follow Me!


No comments:
Post a Comment
Thank you so much for commenting!!! :)