
Today I want to show you how I create those fabulous trendy over-sized banners. I know there are dies out there for them, but why waste the money when you can just do it by hand? It's really quick and easy. All you need is a ruler, paper trimmer, pencil (or pen) and scissors.

Trim your paper to the width and length you want. Flip your paper over. Simply measure up from the bottom where you want the tip of the banner to be and draw a light line. I measured an inch and a half. Then, find the center of your paper and make a little mark. Just connect that point with the lower corners.

Cut on the lines and flip your banner over. If you plan on using this size frequently, use this as your template for future projects - you can just trace the points and cut them out - no measuring required!!!

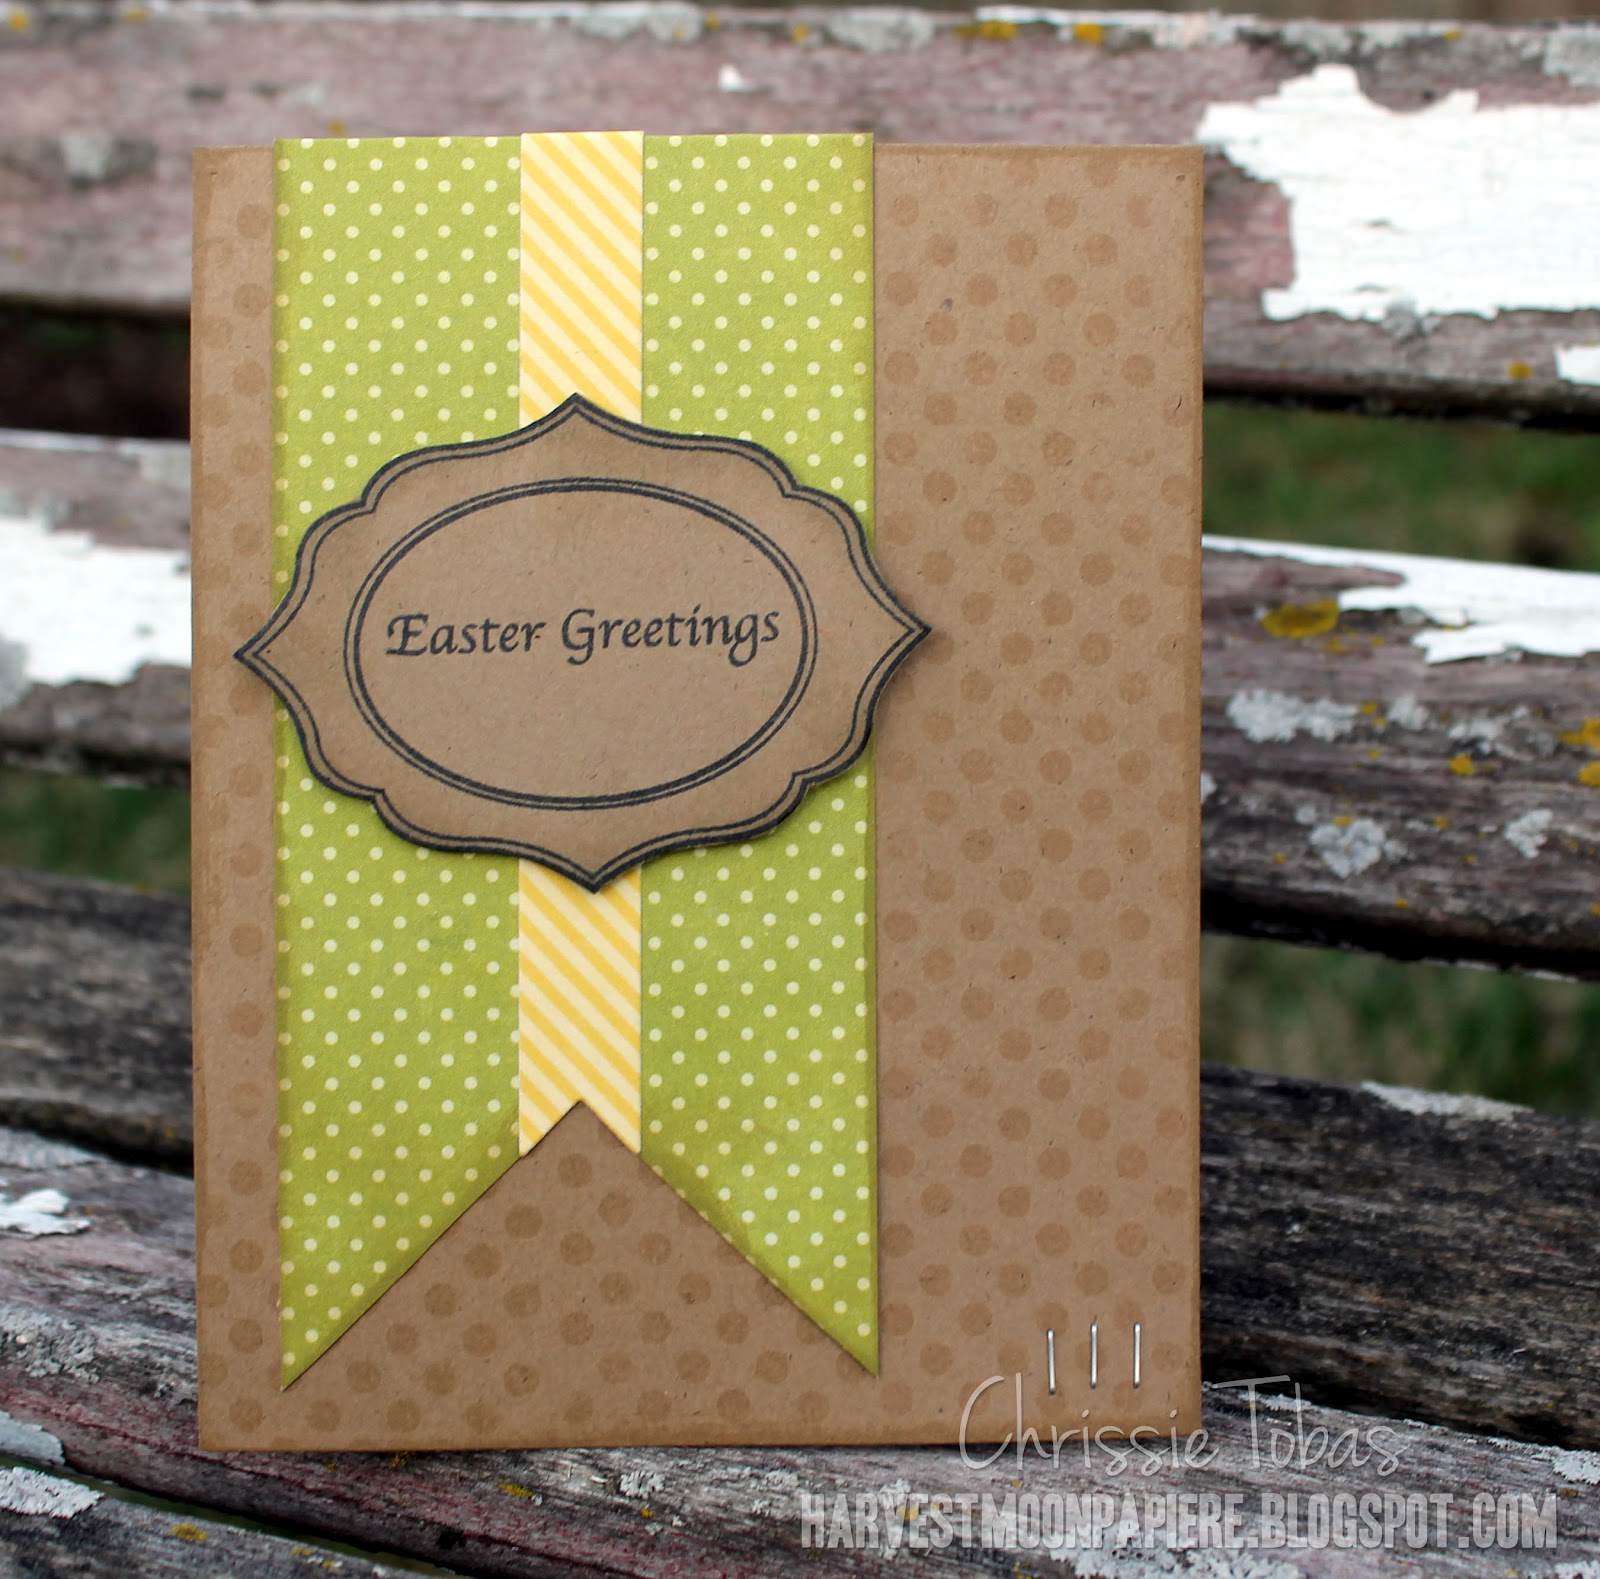
To complete my card, I stamped Large Polka Dot Background in the background using some lighter brown ink. I also inked up the edges of the banner using that same ink.
I thought it would be really cool to divide the banner, too!

So, I also made a smaller banner strip and placed that in the center. I love the stripes and dots together. They are both from Echo Park.
To finish up the card, I stamped the oval image from Lovely Labels and then placed the sentiment from Easter Eggy inside of it. I simply inked the edges and adhered with pop dots.
I hope you'll give this banner technique a try! Thanks for stopping by today!


Stock: Echo Park, Recollections (Kraft)
Stamps: SP & Company
Ink: Memento (Black) Papertrey Ink
Other: Tim Holtz Tiny Attacher


No comments:
Post a Comment
Thank you so much for commenting!!! :)