
I wanted to share a project I created using Xyron and Crafter's Companion Products!

I started out with a file I cut from my Silhouette.

Then I aligned some stamps, just to see what it would look like when they were stamped.

The Banner is from Sentimentals: Mistletoe Kisses and the other two are from Dee Gruenig's sets Ahhh.... Christmas! and Jolly Holly.

I stamped the sentiment in VersaMark Dazzle Frost. Then I heat embossed with some White Ranger Embossing powder.


I added in a few snowflakes and then started folding.
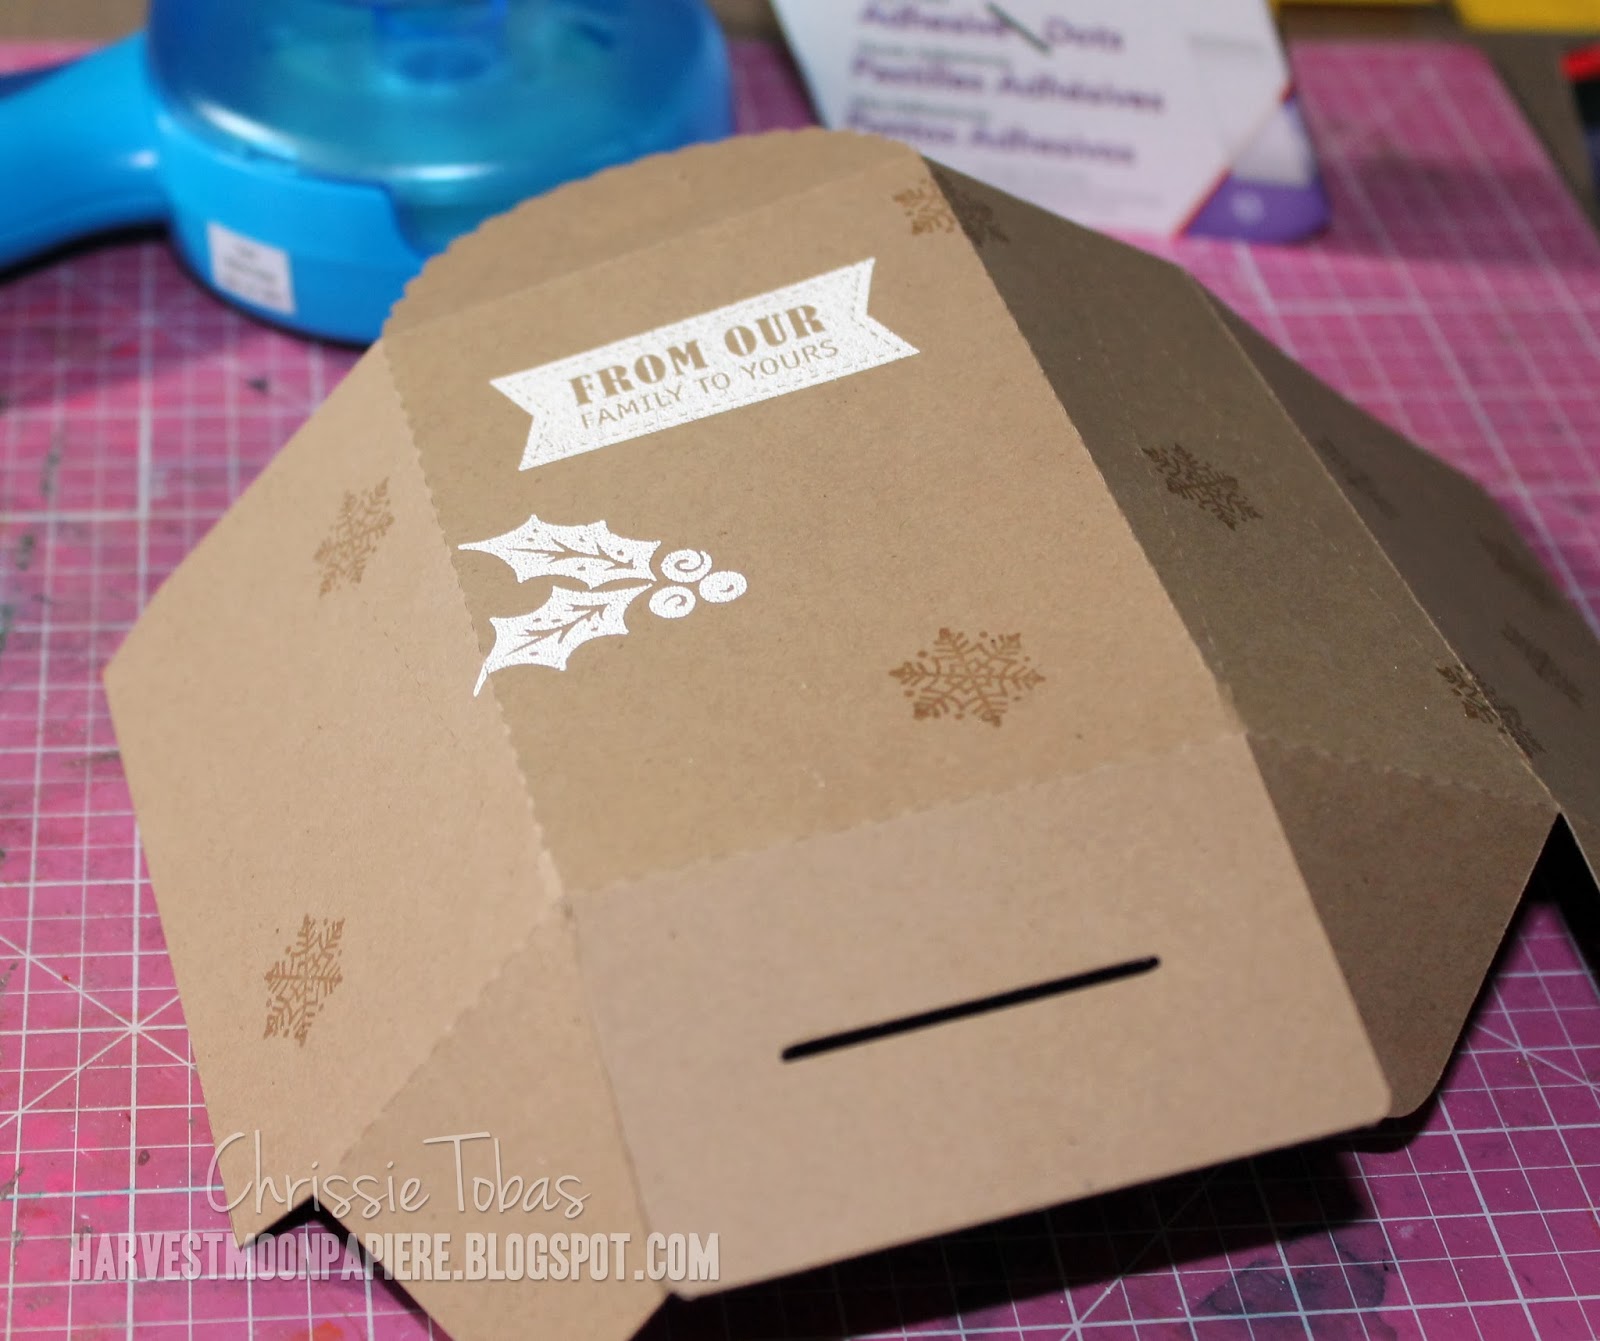
I used the Xyron Mega Runner to hold everything together. The adhesive is super strong and it was really easy to maneuver the tight edges.

Then I die cut a snowflake with some intricate edges and ran it through the Xyron Create A Sticker (which is FABULOUS). It was clean and easy to attach with no extra messy adhesive anywhere!


I just pushed it through and then pulled out the strip on the other end of the "X!" Easy peasy!


It peeled off, no problem. And it was the perfect sticker. This is SO great for die cuts. And my daughter thought it was the coolest thing ever - she can't stop making stickers!

I colored in the holly and outlined around it (Spectrum Noir's Used: JG1, DR2, GG1, Blender). I also added some sparkle to the die cut with a Wink of Stella pen and I added some bling.

Hop on over to the Xyron Facebook page to win some prizes during their 30 Days of Giving!!!
Thanks for stopping by!


Stamps: Crafter's Companion
Adhesives: Xyron
Bling: Hero Arts
Markers: Spectrum Noir
Ink: VersaMark Frost
Embossing Powder: Ranger
Other: Wink of Stella pen, Simon Says Stamp die, Silhouette
Follow Me!


Terrific idea! Simple design on the outside but yet so pretty and classic looking! Thank you for sharing because it showed me that I don't have to go crazy all the time with embellishing to make something pretty :)
ReplyDeletewonderful way to give a gift!!!
ReplyDeleteVery cute way to give a small gift!
ReplyDeleteFabulous girl. Live
ReplyDeleteThanks for sharing and for the tutorial!
ReplyDeleteCute bag. I like the coloring of the stamped holly.
ReplyDelete