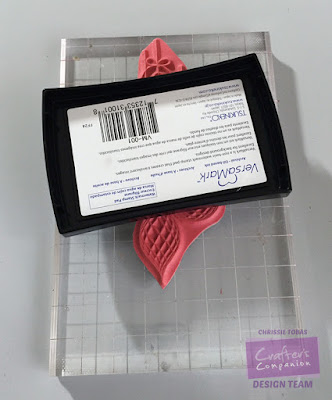
Step 1:
Die cut in Gold. Hang onto the pieces. We are going to piece the Gold and the Kraft together (along with Red) to give this card more pop!
The little holes in the die are to make it easier to pop the die out. You can use a paper piercer to help you release the die cut. Then you can gently pull the it out of the die.
Step2:
Die Cut that same die again, but at the edge of a Kraft base. The base is 5.5 x 8.5, scored at 4.25 to make a standard sized A2 card. Pull off the excess die cut and then adhere a strip of red underneath it.
See how stunning the embossing is? I had no problems getting the embossing to show up, but if you do, just add another piece of cardstock to your die cutting 'sandwich.' That will force the die to press into the paper a little harder and the embossing will come through.
Step 3:
Adhere the Gold onto the Red strip we added. It should fit perfectly into the Kraft piece.
Step 4:
Trim any excess Gold. I like to have a bit of an overhang when I'm piecing my cards together. I trim them once they are adhered together, so there are no gaps anywhere.
Step 5: Ink up the Stamp It Australia: Linear Baubles set with VersaMark watermark ink.
Step 6:
Place a thin piece of copy paper to protect the die cuts and stamp the Baubles a few times on the card.
Here is the finished piece:
I moved the stamp up on the one side and down a bit on the other, just to make better use of the stamp!
Thanks for stopping by today!
SUPPLIES:
All supplies linked above and available on the Crafter's Companion Website.
Let's Connect!


No comments:
Post a Comment
Thank you so much for commenting!!! :)