Hi there! Today I have a beautiful watercolor-type card for you!!! I used my ink pads instead of watercolors. All you need are some ink pads, a cup of water, a cheapie paintbrush and some plastic or acetate to stamp on and use as your pallette. I was using a acetate sheet for a long time until I saw someone use an old CD case a few weeks ago. I happened to have one, sitting in my scrap studio, collecting dust, so I inked it up!
Just stamp onto the plastic. This will be your ink pallette. I have a cup of water (the Yankees cup is my husband's - I like the Yankees, but I'm a White Sox girl!!!), a paintbrush and some stock that was cut to size. I also inked up the
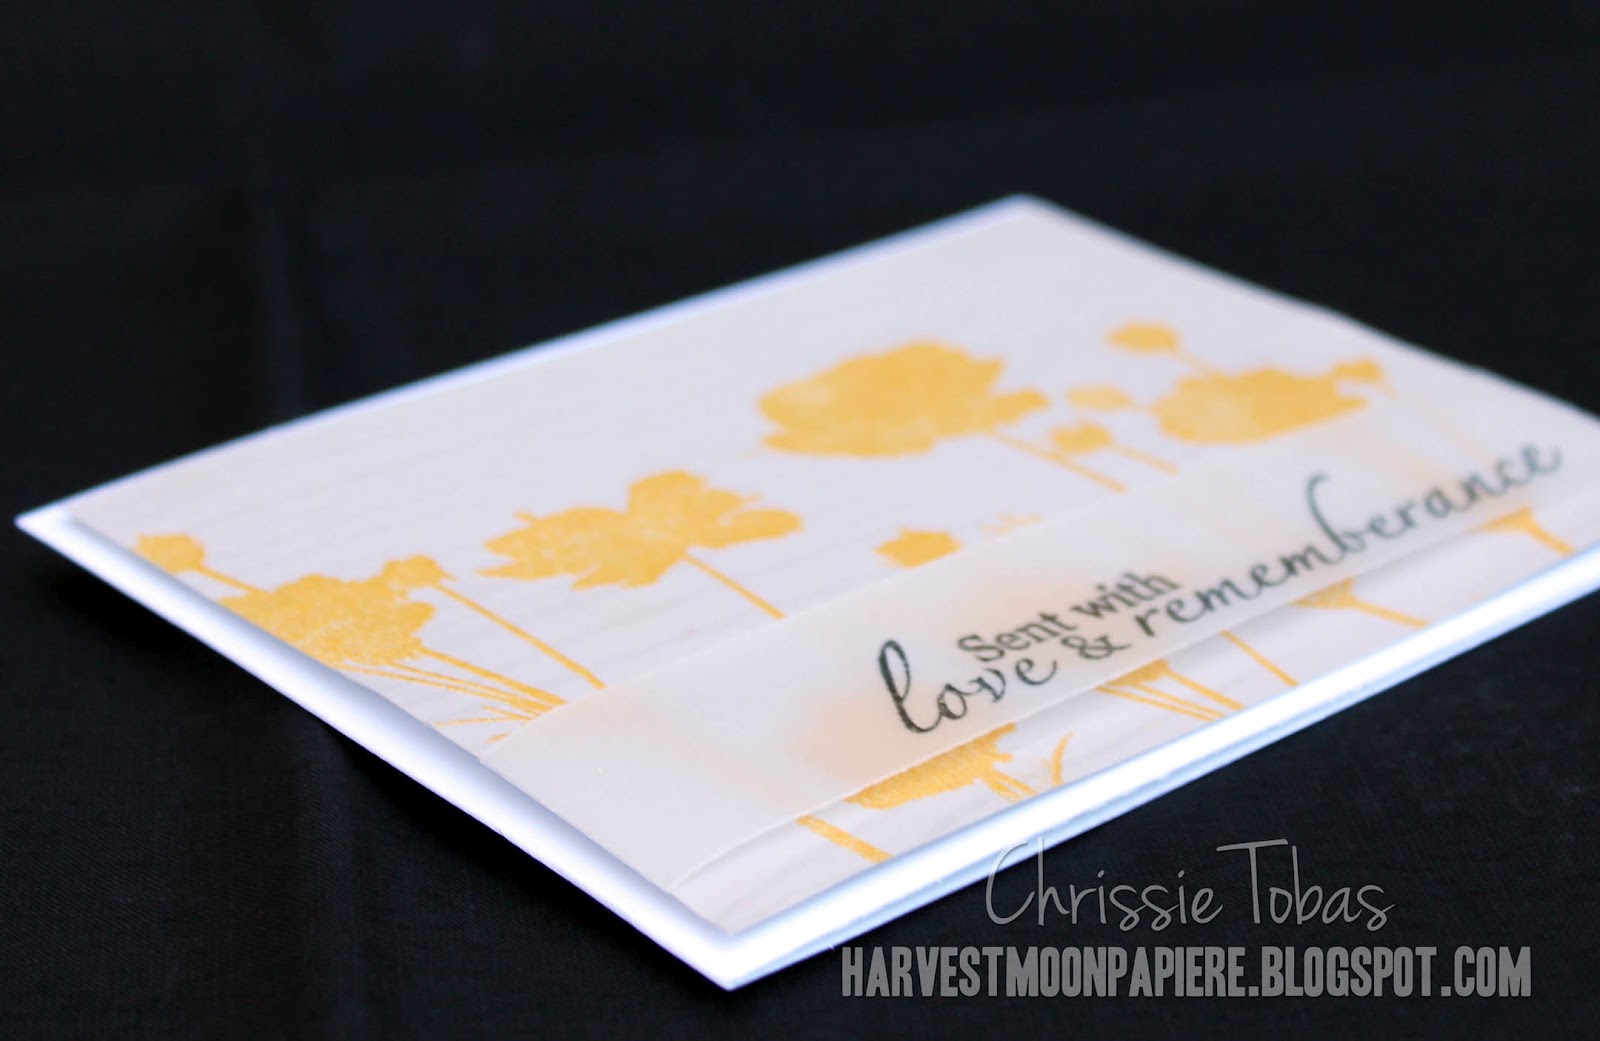
Poppy Field Summer set with VersaMark and heat embossed some images in white embossing powder.
Dip your brush in the water and then into the first ink color you want. I just added the ink to the image in a circular pattern. I started out with the lightest color at the top and worked my way down. The embossed images magically appear as you paint on the stock!
You can see my little work in progress above. The best part is that it is really easy to clean up afterwards! I also took a tissue and wiped away the excess ink on the white embossed images.
I die cut a window and placed the 'watercolor' piece behind it. I finished the card off with the "Thank You" sentiment from
Lovely Labels.
Thanks for stopping by!!!


